It wasn’t till recently I had to copy some voice memos from my iPhone to a Windows PC and there are times when simple tasks like that can get you stuck. Well, I had never done it before and performing that operation first time had me going through Google search. There are several ways to do this and which ever method you use depends on what’s convenient for you.
Note that you don’t need a jailbroken device to do this.
1. Transfer Voice Memos from iPhone to PC without iTunes
If you can access your iPhone file system, you can easily copy out those voice memos. You may need an iOS file system browser to do this and I recommend iFunbox. You can download it for free here.
– Install iFunbox and run
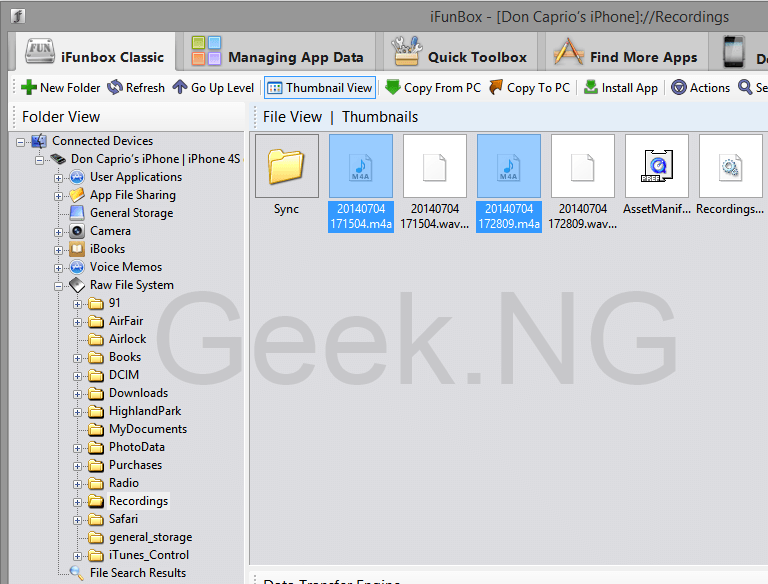
– Select iFunbox Classic > Raw File System
– If you’re not using a jailbroken device, simply click on the Recording folder and there you have it.
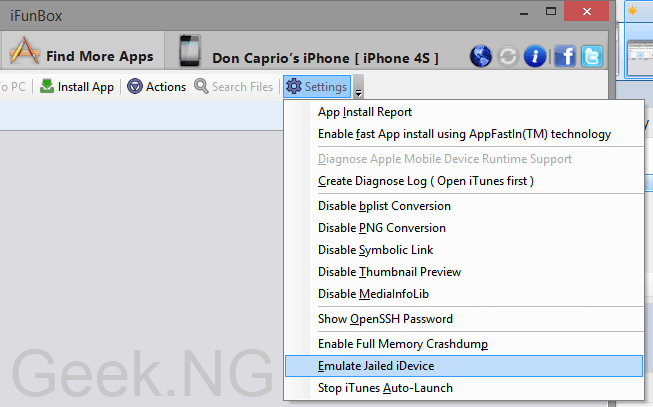
– If your device is jailbroken, you may need to emulate a jailed device to make it easier. Go to iFunbox Settings > Emulate Jialed Device.
– You can easily access the Recordings folder from the Raw File System.
2. Transfer Voice Memos from iPhone to PC with iTunes
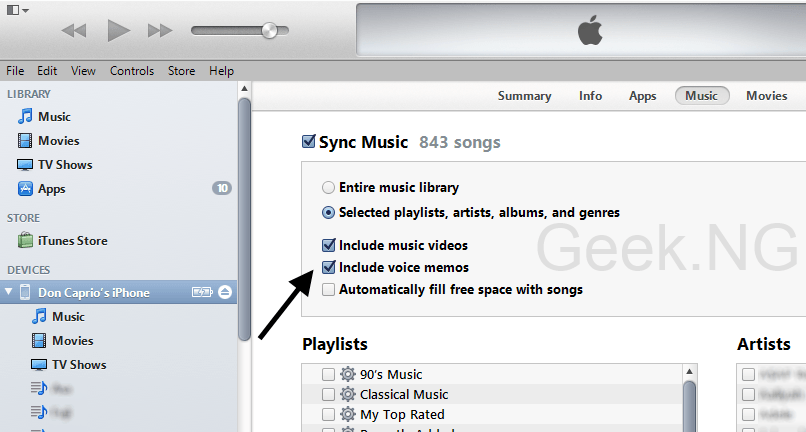
If you’ve already installed iTunes on your PC, chances are that you already have those recordings in your iTunes library. Sync the voice notes along with your playlists to have them copied to your PC:
– A new playlist should appear on your sidebar named Voice Memos. Click on it to show the listed recordings.
– Right-click on any of the listed recordings and select Show in Windows Explorer.
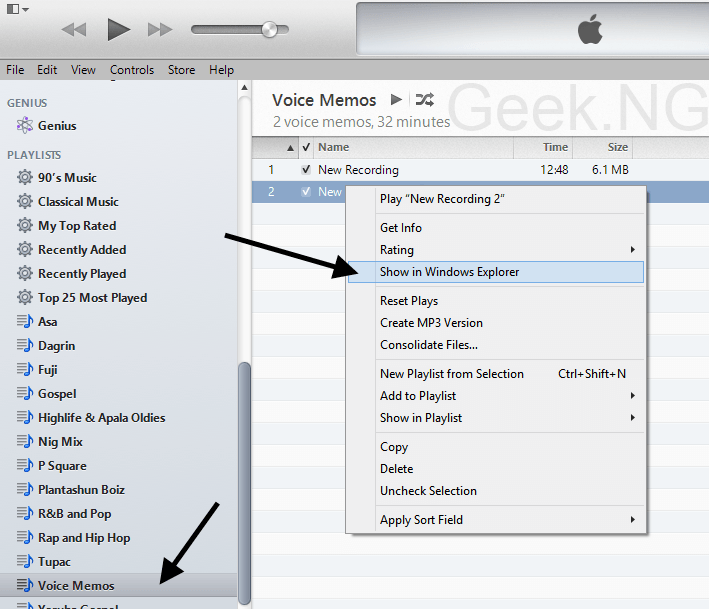
– The folder containing the recordings should automatically open.


Comments
3 responses to “How to Transfer Voice Memos from iPhone to PC”